


Some notes on teaching character design & book layouts to kids
As part of Liv Language Program's writing and illustrating workshop

Last July 12, I facilitated a workshop on character design and book layouts to kids enrolled in Liv Language Program’s Living Stories: Illustrating and Writing Workshop held at the D&L Garden Pavilion at La Trinidad, Benguet.
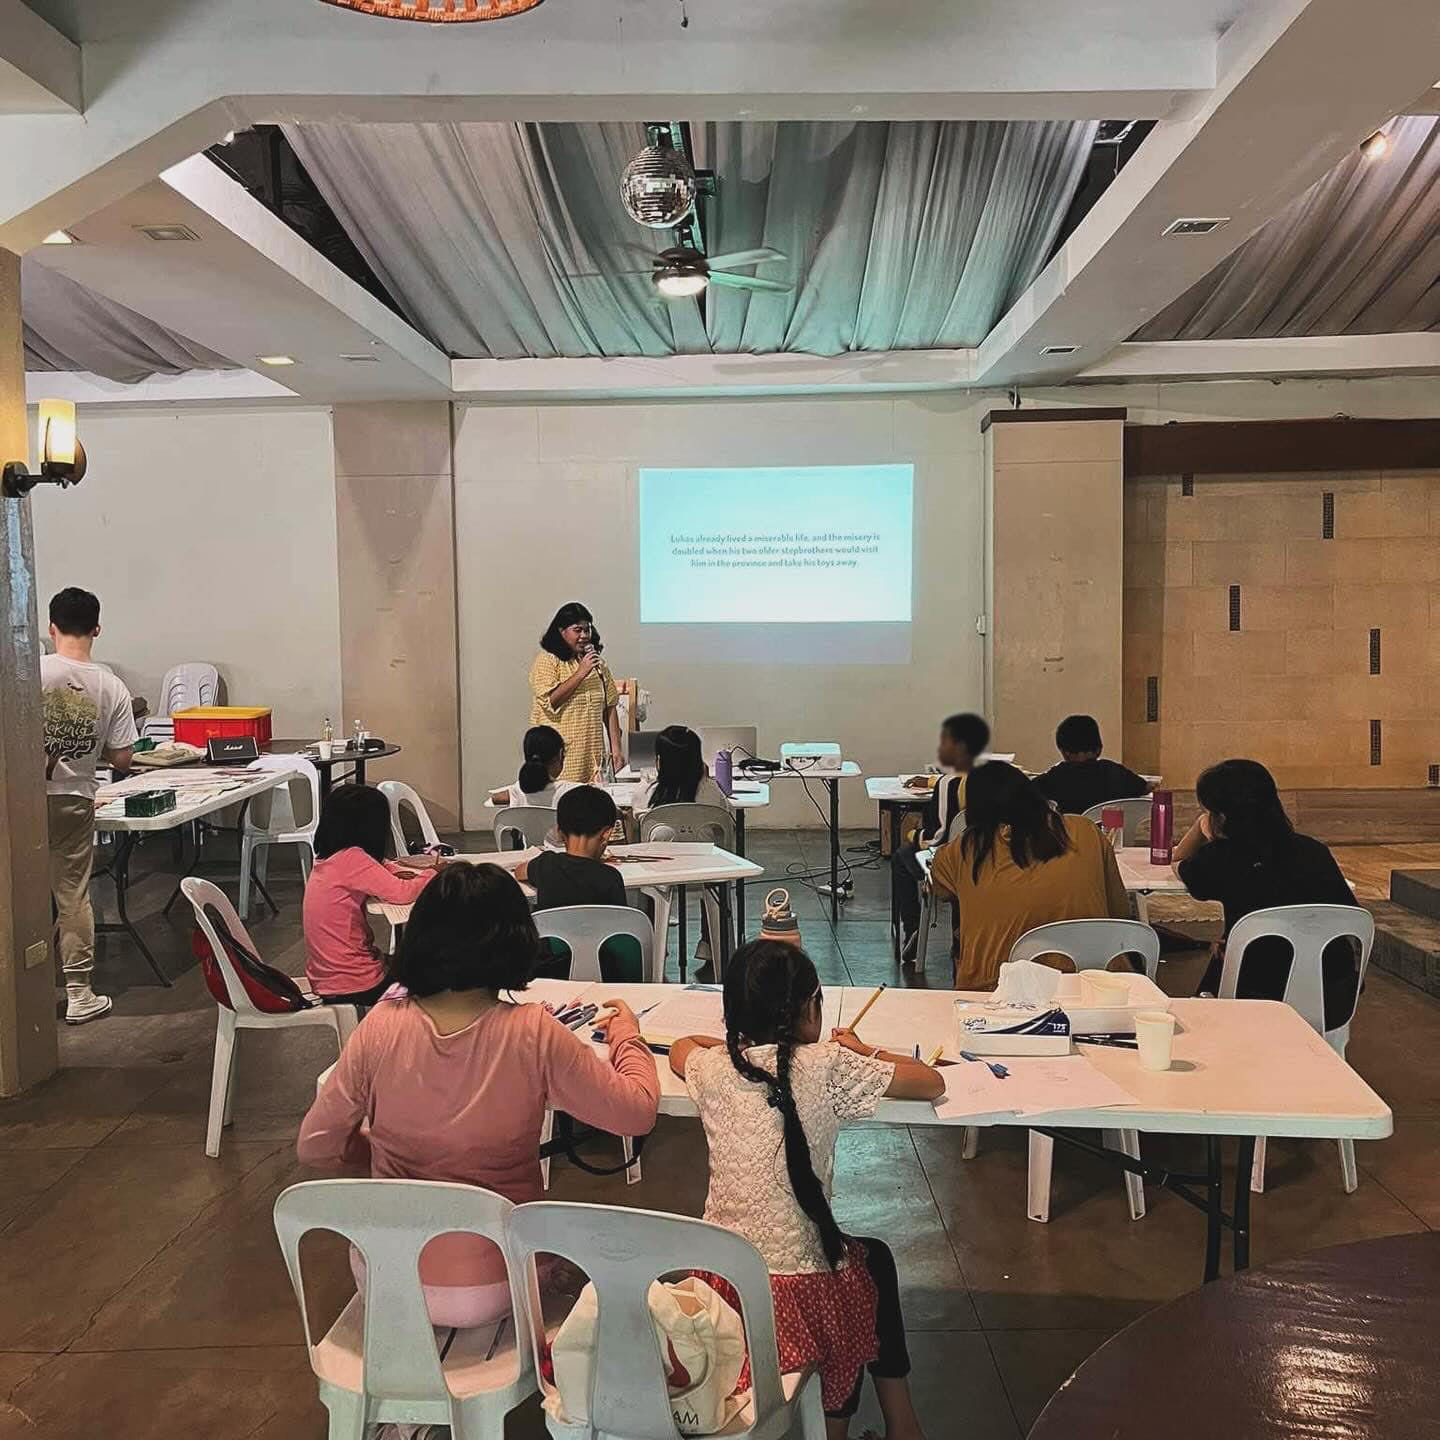
Photo Courtesy of Liv Language
When I got to meet the kids, they already had their classes from story ideation, writing with the senses and writing on place and time up to editing! Since they were working on their respective stories already, we could go onto the next part of the process! I’m thankful for Liv Language’s Bea Mandapat, writer of the children’s books More (illustrated by Danielle Florendo) and Goodfire (illustrated by Ivan Reverente), for inviting me to teach illustration, with focus on character design, and book layout!
I’d like to share a few notes plus a few selected slides from my presentation on how to teach these topics to kids. Writing these down helps me remember the process if ever I’d do another workshop, and of course, I hope that this could help those who also have only just begun teaching illustration to kids!
I’ve only ever done two workshops for kids before this, so if you also have notes too, I’d love to know!
When a character is too ‘complex’ to draw, break them down into shapes!
One instance, a student asked me to guide her to draw a character with braids, so I helped her see and draw shapes like a circle for the face, and the smaller circles at the side of the circle to represent the braids. She was able to draw the character well! :’-) Once they can observe what makes up an image through the use of shapes, it’d be easier to draw them!
We referred to various characters that they were familiar with and tried to identify the shapes!
Below is from the book Goodfire with shapes drawn on the surface, so the kids could see them clearly.

In retrospect, I also realize that sometimes it doesn’t have to be shapes but real things they might be familiar with. Instead of saying a triangle, maybe a mountain would be an another example. Instead of saying curved lines, it would be like the scales of a fish.
Show examples or draw them!
Teachers Bea and Teacher Ajan, prior to the actual workshop, decided to bring books they have in their classroom, so the kids would have a chance to take a closer look at the characters, the kinds of illustrations there are on a picture book, and how a page or spread is composed.
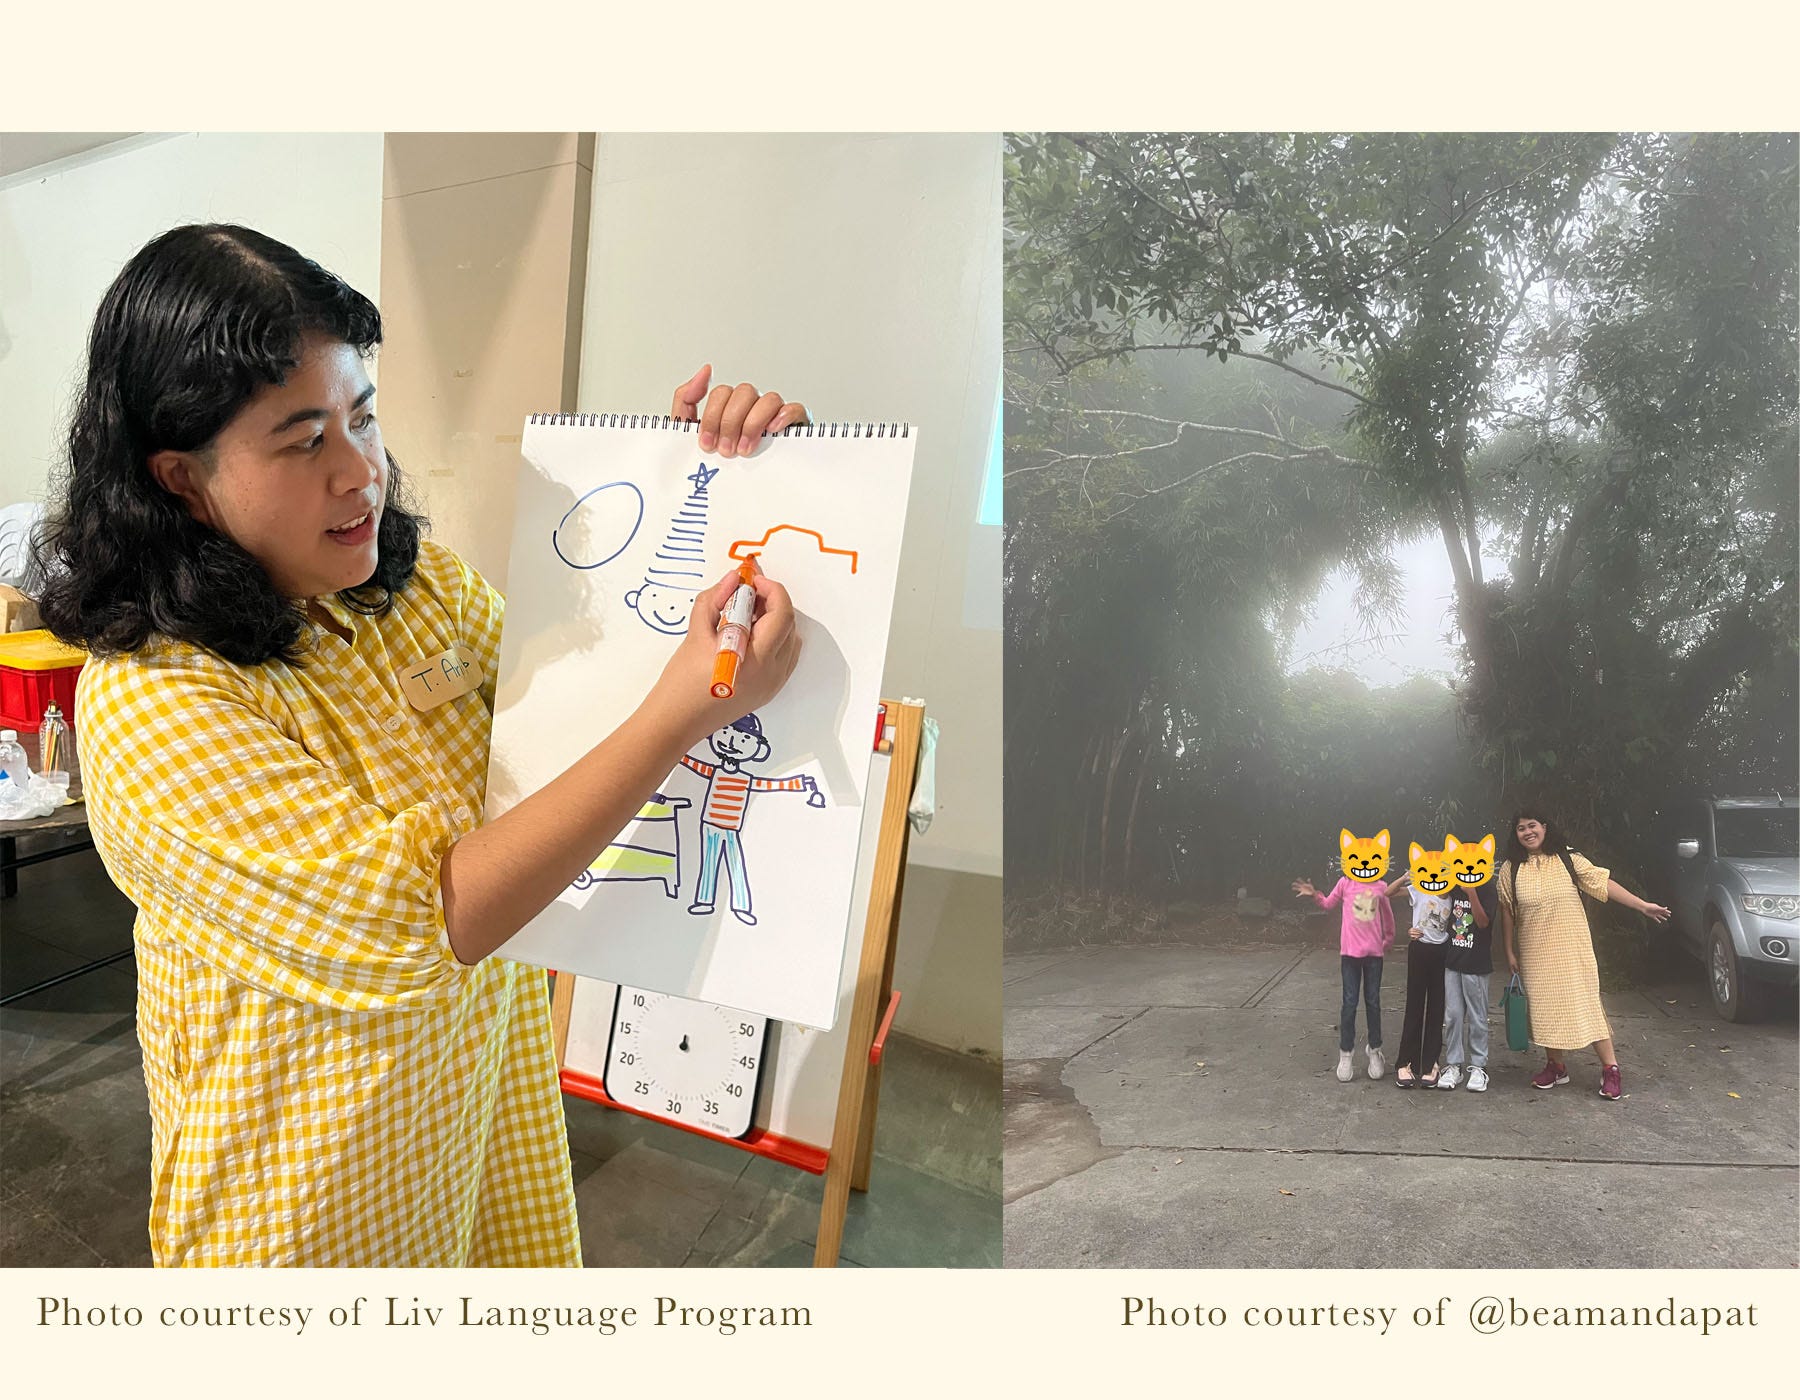
Likewise, I drew on a big sketchpad, so the students could see an image be completed from beginning to end. In the image below, we drew a car and a manong sorbetero!
I also let them know that they shouldn’t worry about having a character that might look like an existing one.
I gave two very popular blue dogs as an example: Bluey and Blue from Blue’s Clues! Even if they’re both blue and they’re both dogs, they still look different from each other!
Examples they’re familiar with helps them connect more to a topic and to you as a teacher. When they saw a Minecraft screenshot on one of my slides for an example on what character design is like, some of them got excited!
Encourage them to ask questions
This inspires curiosity and not settling for the first idea they will have. I told them that sometimes, to get to a final character design, one has to go through many versions of them! To do this, they can ask themselves things like in the following slide!

Above is a photo of Mamay Esing from the book Mamay Esing written by Jobert Grey Landeza
I also shared that it’d be good to ask themselves about the possible readers of their stories, because this is a factor when it comes to book layouts!

We compared how in picture books for younger kids had drawings mostly and only a few words, and then for books for older kids, the number of words began to increase!
Another related thing to questions…some may be shy to voice out their questions that the whole class would hear, so it’d be for them to know that they can approach you while they start working by themselves! I told them that I was super shy too as a child, and it helps when teachers allow a sense of privacy when it comes to asking our questions.
Be ready for drawing requests, be game with it!
Sometimes in drawing workshops, a kid can request for you to draw something.
One kid asked how to draw an open book. “Ah, easy enough!” So I drew it!
And then another requested that I draw a LEGO BIONICLE.
“What? What’s a bionicle?” I asked, confused. So we got Teacher Bea’s phone and searched for a reference image.
It was a robot-like figure, and robots aren’t my strengths!!! But I took on the challenge for the kids.

It’s a bit unclear, but that it the LEGO BIONICLE. Haha!
I mentioned this to them, but even though if a subject is hard, they can break it down to simple shapes, and that’s what we did!
Share to them why something is important

At the start of each topic, I asked them why good character design is important, as well as a book layout. They were able to give great answers! This helps them understand the process and inspire curiosity and exploration.
Have a selection of available art materials to choose from!
I asked Bea if we could use art materials they already have in the classroom, so we wouldn’t need to spend much, and then also use materials like clay (which they have!), so some who might prefer designing a character in 3D and in a tactile manner can do so. I also gave an example that Ali Estrella, a fellow INKie (members of our org Ang Ilustrador ng Kabataan), uses clay as one of his preferred media!
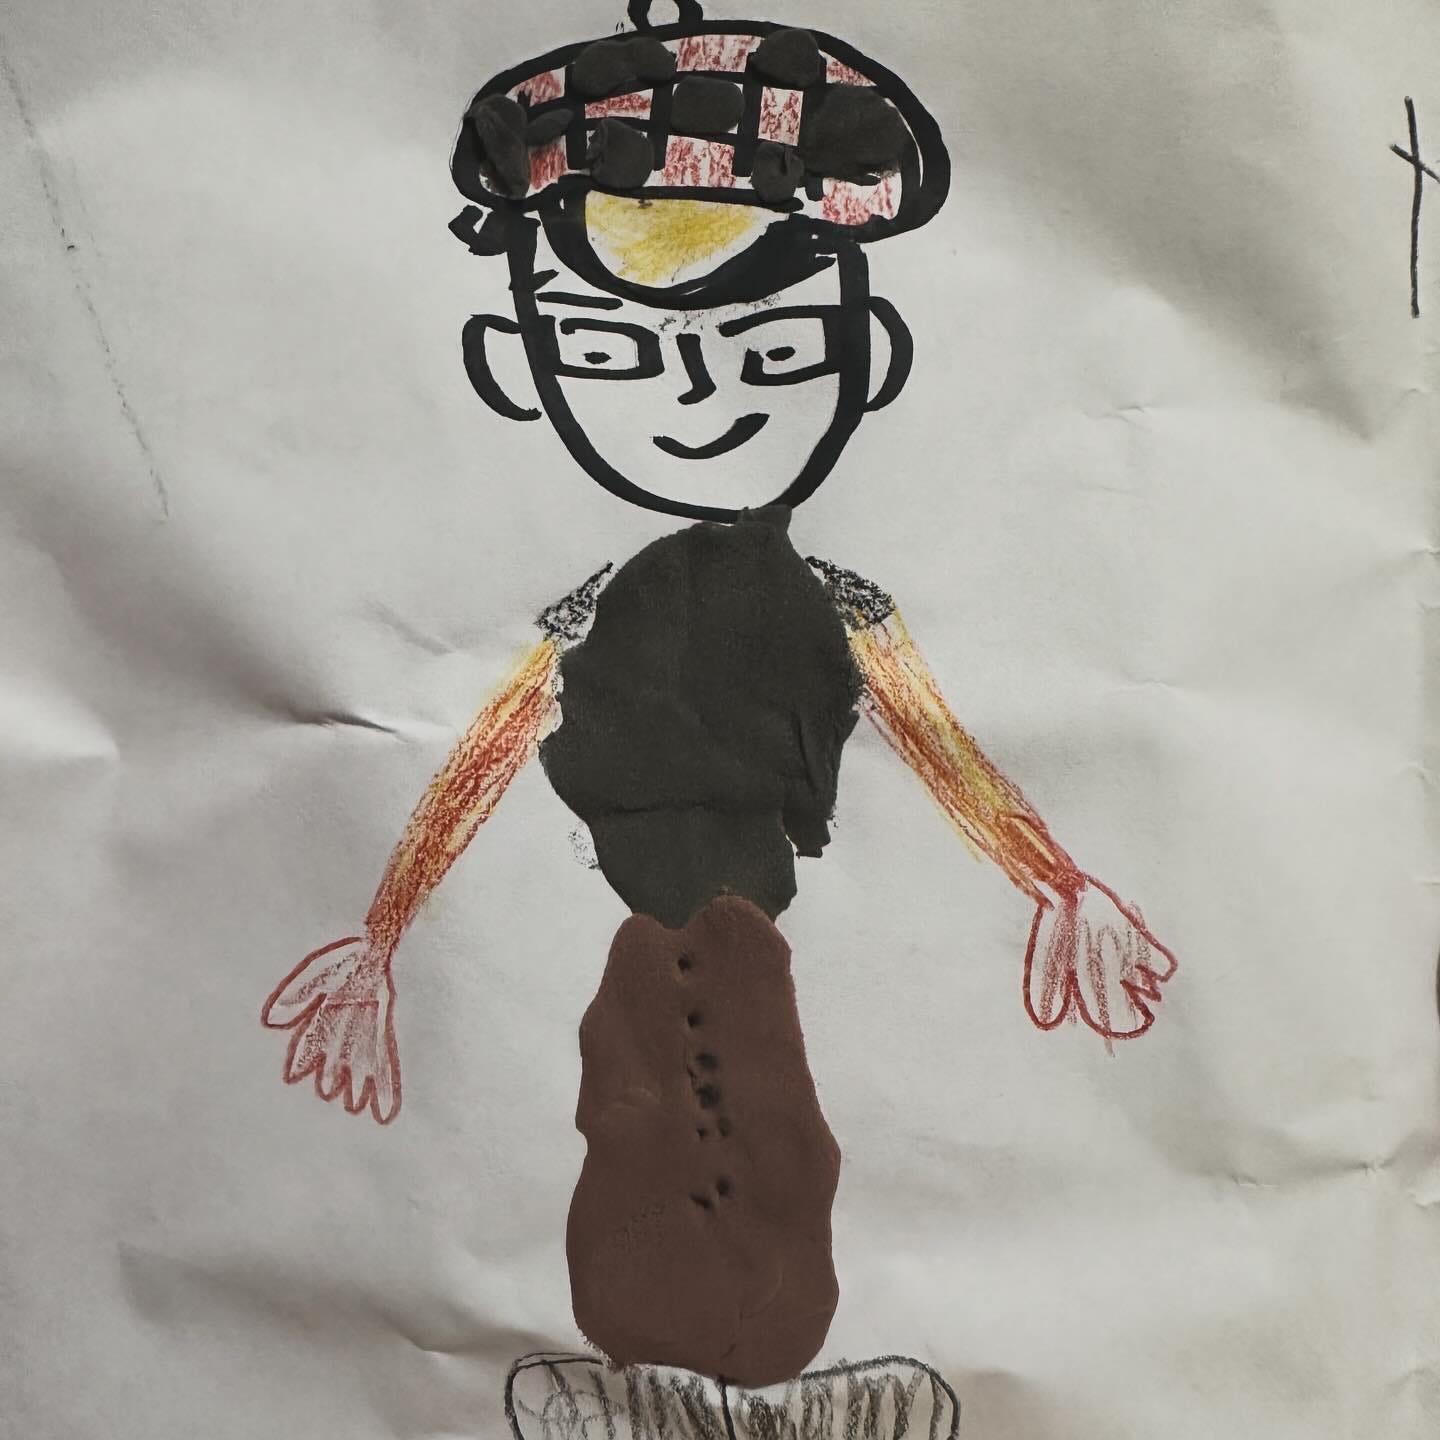
Mixed media! I drew the face and hat, and then one of the students made it her own. :’-)
Share bits & pieces about the actual process!
I told them about how a book is made, so they have an idea what happens!
For added information, I shared about making the storyboard and gave examples of these from various artists. I told them that storyboards can be messy and rough, but they have to make sure they themselves would understand them! (Sometimes, I couldn’t understand my own storyboards and handwriting after some time. Haha!)
As another example, I shared them the line art and final spread from Mamay Esing.

Saluhan!
This loosely translates to “I got your back!” If you might forget something or you might haven’t explained something clearly, a co-facilitator would be there to help you out! I’m grateful for Teachers Bea, Ajan, and KC for their help, especially when one of the kids asked why a dummy book was called a dummy book. 😅 Aside from being ready for drawing requests, one must be ready for questions like this from kids!
In expressive arts, it’s similar to attunement. When you’re attuned to your co-facilitators and to the participants, you will be able to address their needs ahead of time.
The day started with the sun shining, and then it ended in the afternoon with fog outside! Though it got to a foggy end, I hoped that the kids were able to learn more about designing their own characters and to finish their dummy books!
P.S. The teachers and I decided to call them sample books next time… Hahaha!
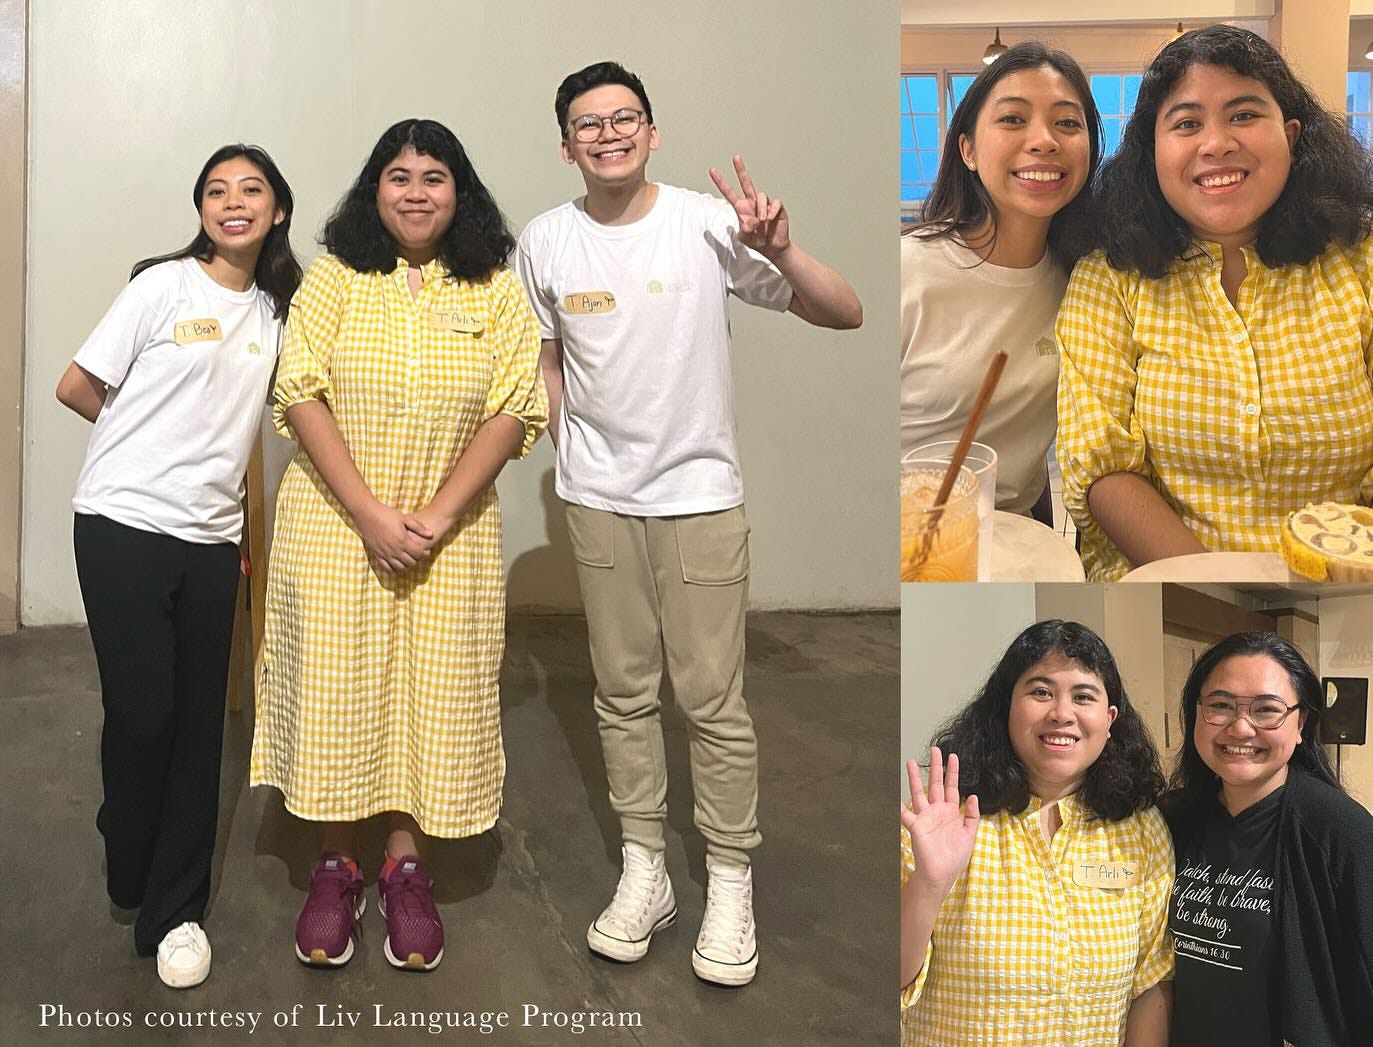
With Teachers Bea, Ajan, and KC!
Another thing which I loved from my visit there was after the workshop, we had dinner and made art together using watercolor! And then at the end, we exchanged our works by closing our eyes and picking a piece of paper from what we made. I got Bea’s (so apt I got hers! I’ll treasure it forever as well as her letter there).

And then Teacher Ajan got mine which is the one on the first photo! I enjoyed listening and sharing conversations with Bea and Teachers Ajan and Ivah.
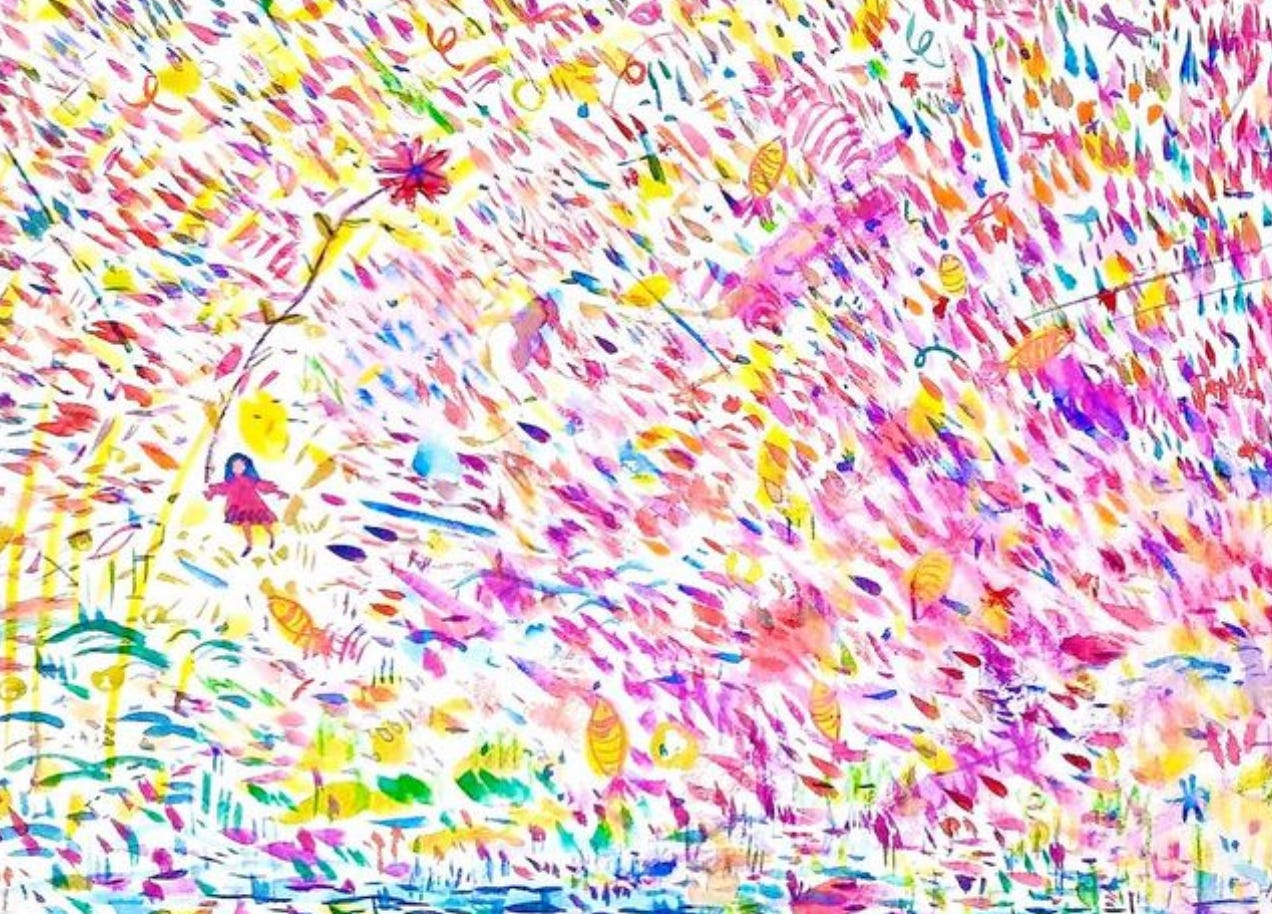
The watercolor painting I did!
I just love how art and making art can build community and foster friendships. Such a nice and calming activity to do after dinner. My heart felt warm—the same warmth I felt when some kids went to me at the end of the workshop and gave me gifts—while we just painted and chatted, even when rain pounded on the windows.
🌱 For those in Benguet who are looking for a program for their kids to grow in their communication skills, you may check in with Liv Language Program at Poblacion, La Trinidad, Benguet.